Blog!
9
Mar, 2015
Fix My Flocking Wallpaper!
Flocked Wallpaper… some love it, some hate it. We love it actually. Here’s what we recently came across:
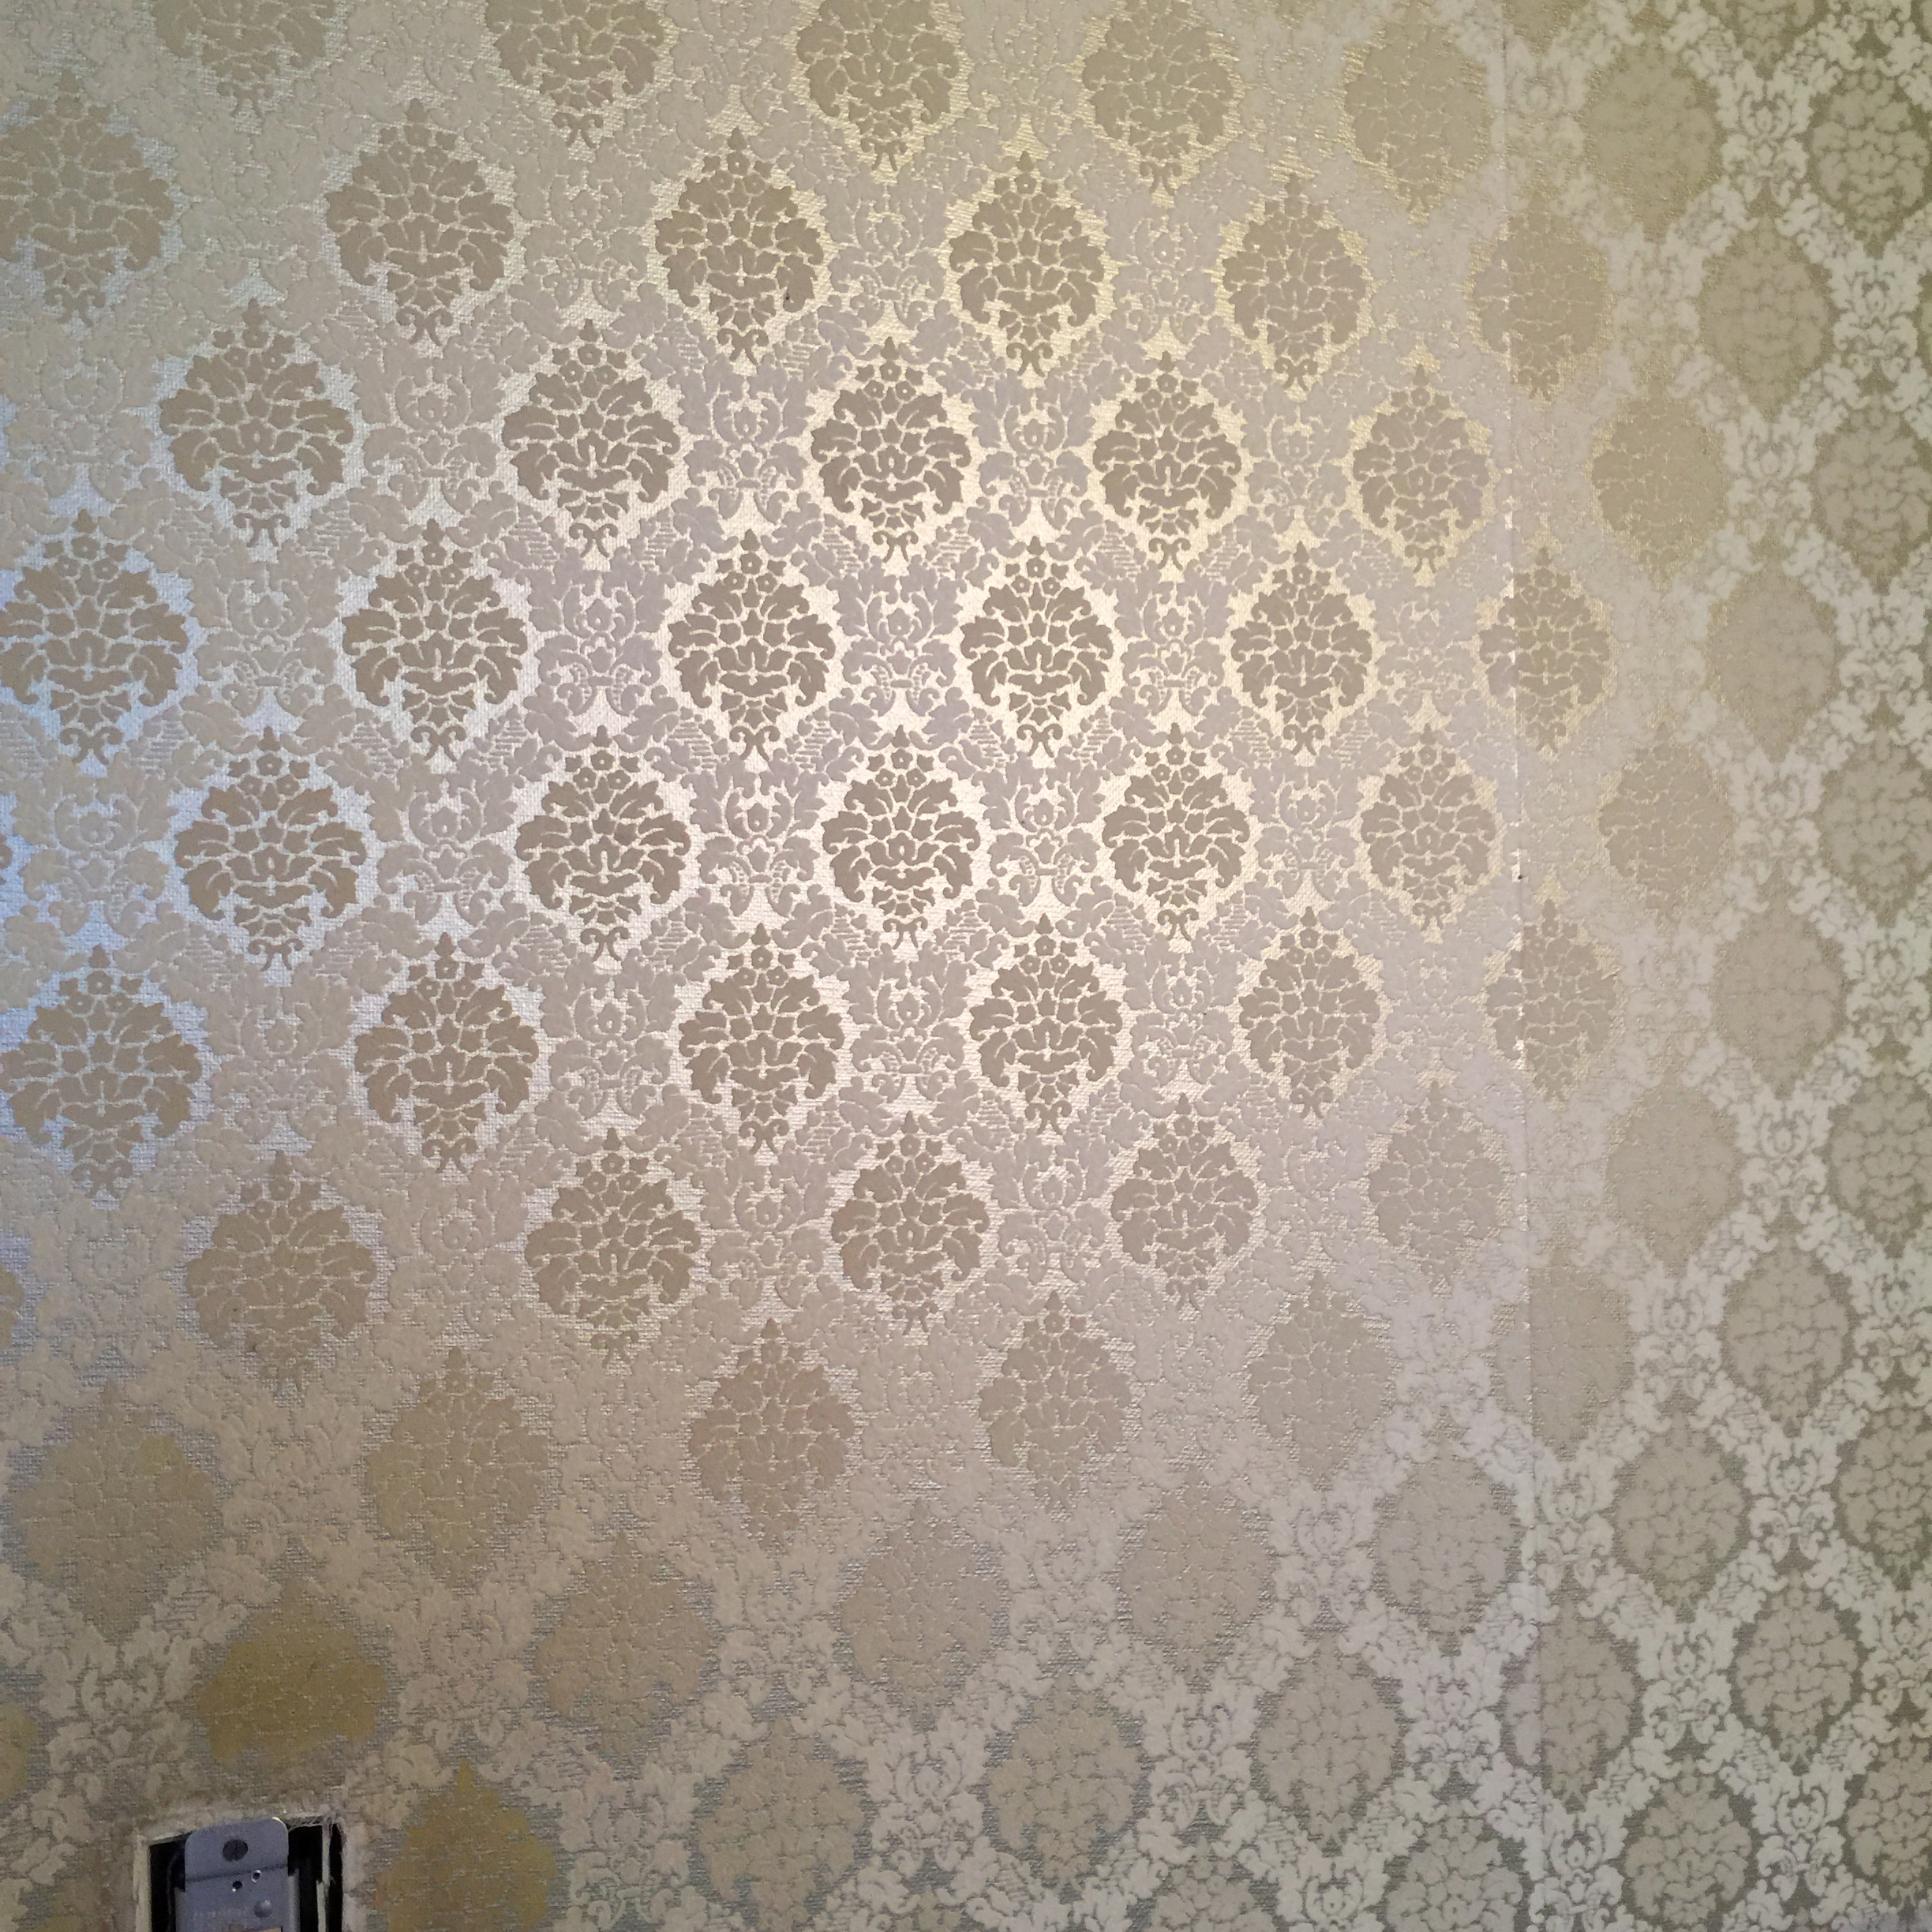
Intended to imitate cut velvet, it’s been around probably since the late 17th century. Ok, this isn’t a history lesson, but that’s a long time. It’s gone in and out of style since being invented. The 1980’s was an IN moment. And since most Flocked papers are pretty durable – some homeowners put it up and by the time they consider taking it down – it’s come back into fashion.
According to the Victoria & Albert Museum in London, this was once said of flocked wallpaper: ‘I can conceive of nothing more terrible than to be doomed to spend one’s life in a house furnished after the fashion of twenty years ago. Dull monotonous walls, on which garish flock papers of the vulgarest possible design, stare one blankly in the face with patches here and there of accumulated dirt and dust …”
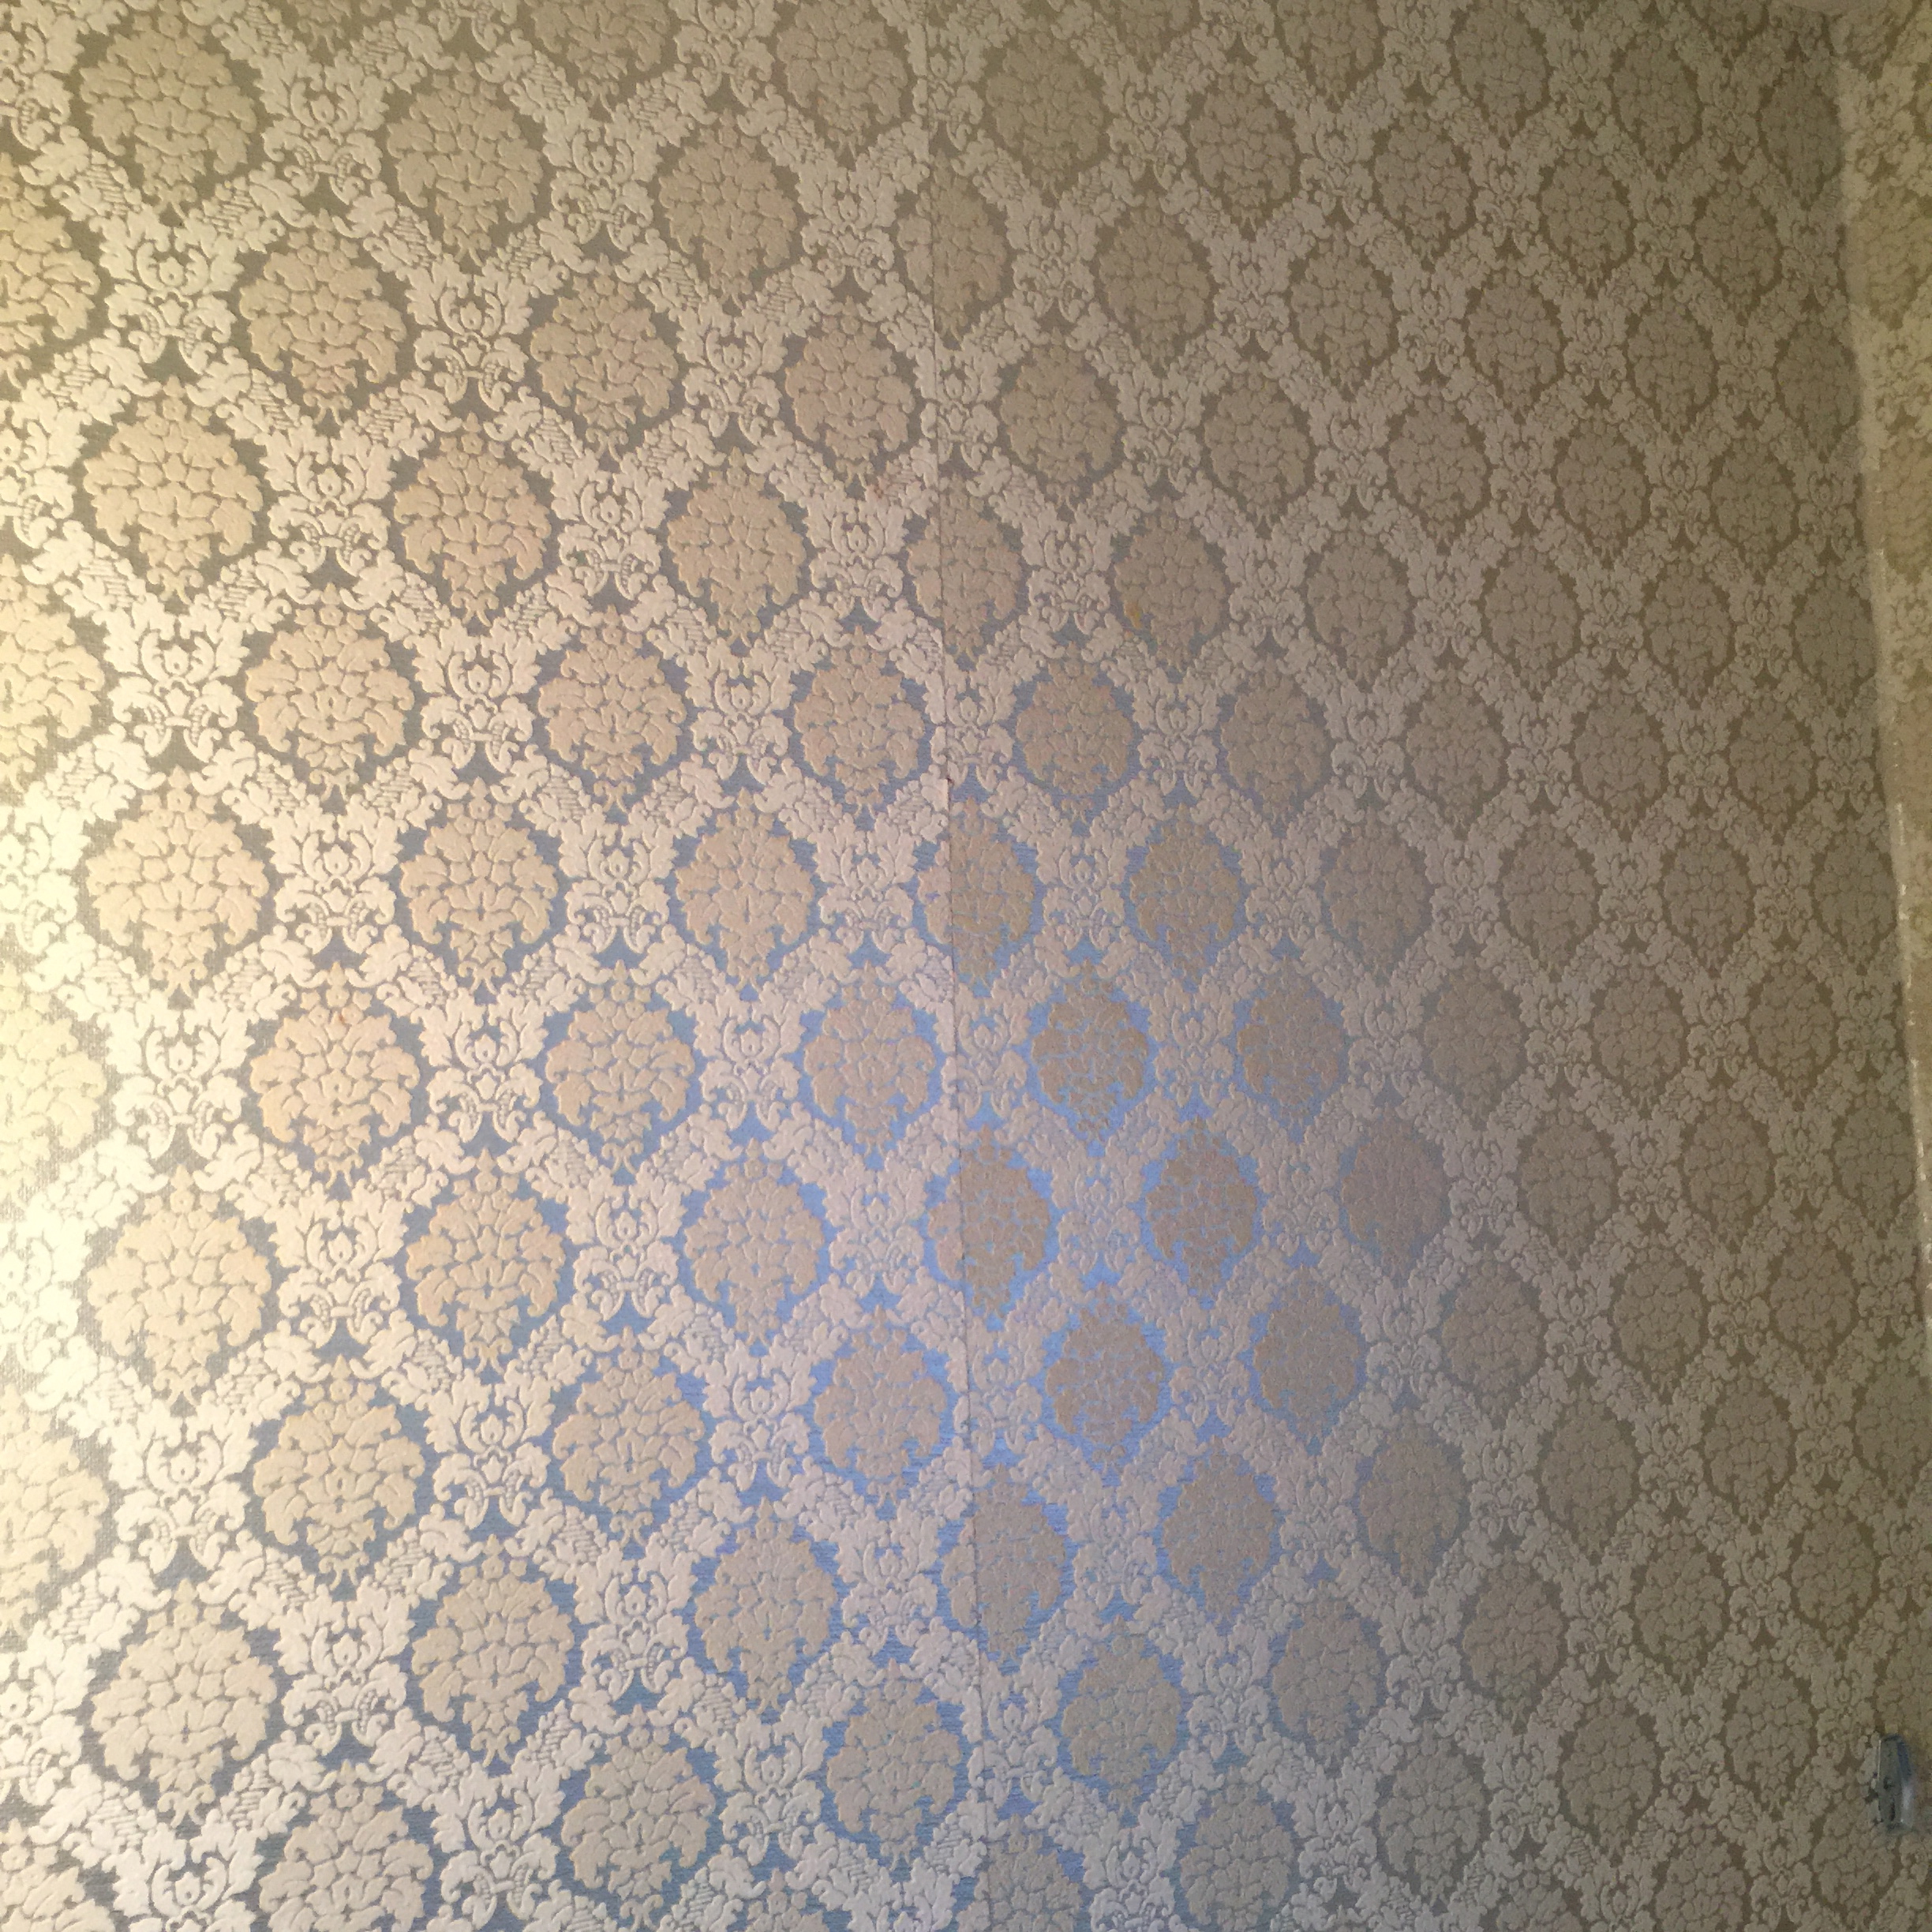
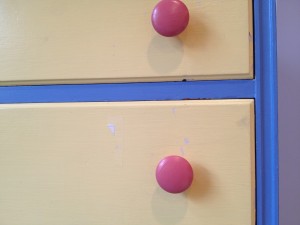
So, back to the above 1980’s fabulous flocking! It’s a little yellowed, some of the flock has flown, but it’s on that wall pretty darn well.
Take it all down? Deal with the leftover wallpaper paste? Not so fast!
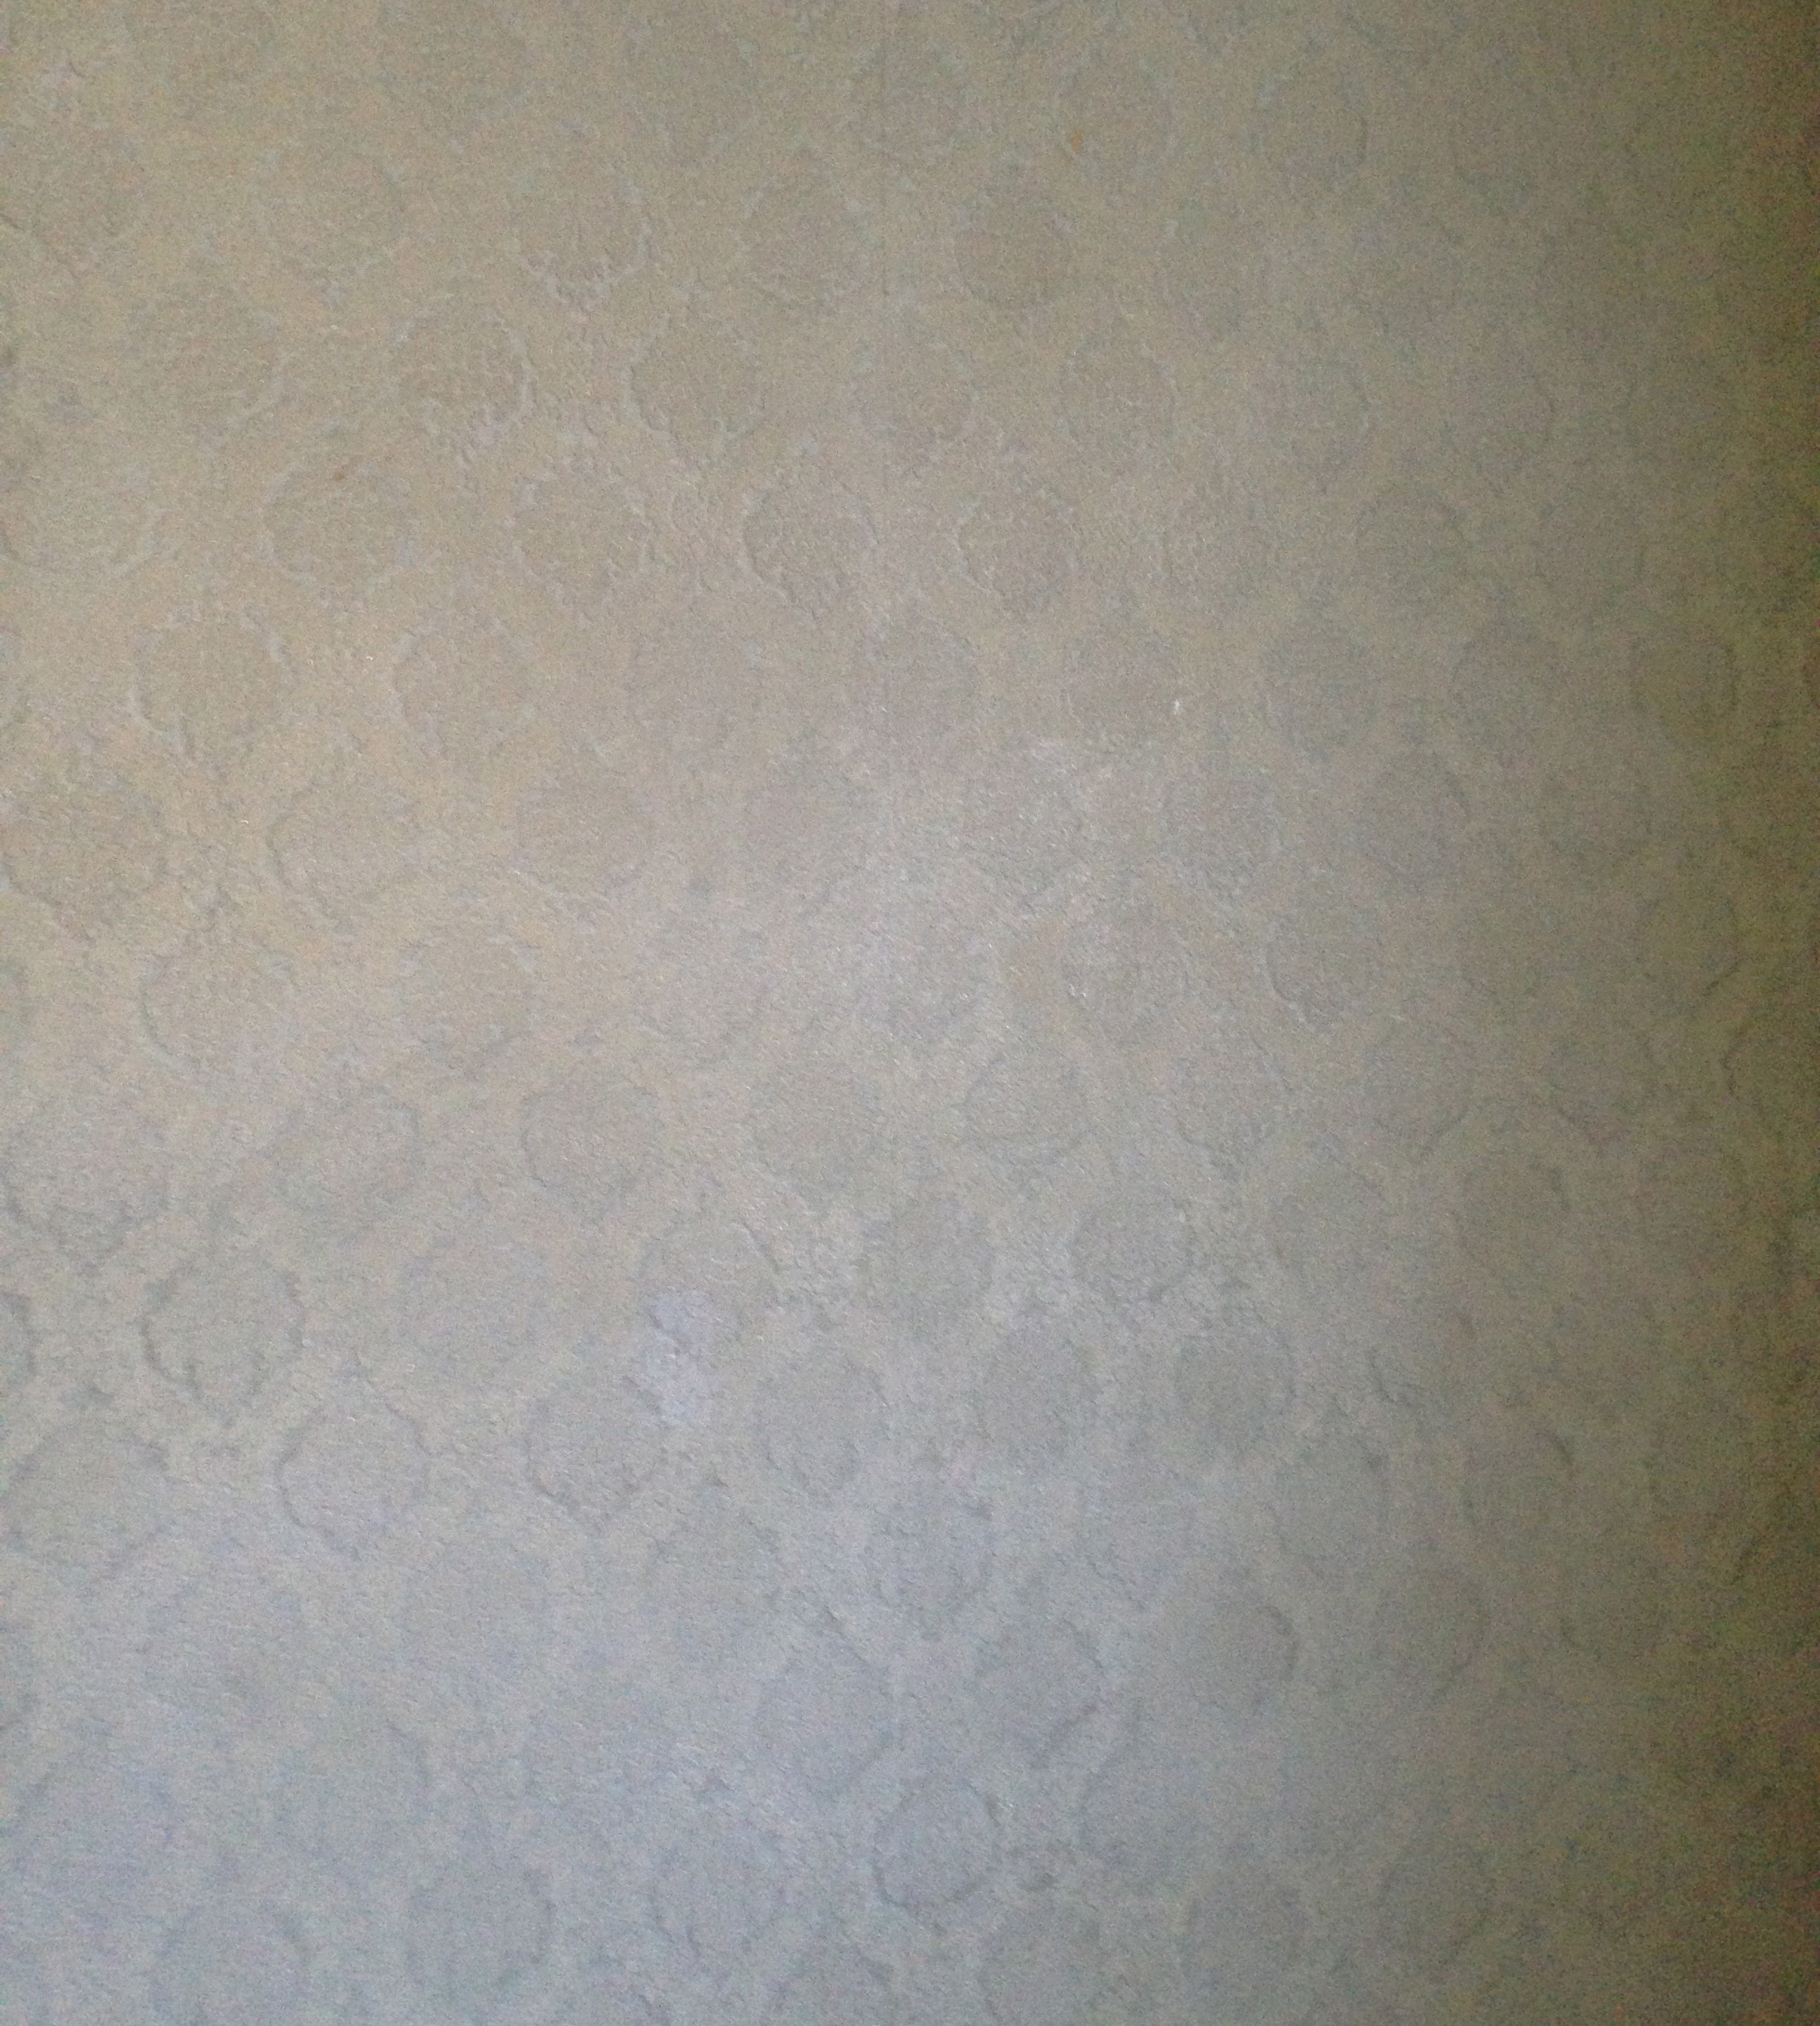
Bring on the metallic plaster! It’s velvety! It’s shimmery! but it’s not dusty particles so it won’t flock off the wall over time. Like near the light switch…
Let’s smooth some metallic plaster over that paper and even out the color, minimize the pattern, punch up the sparkle, and avoid re-doing the whole room.
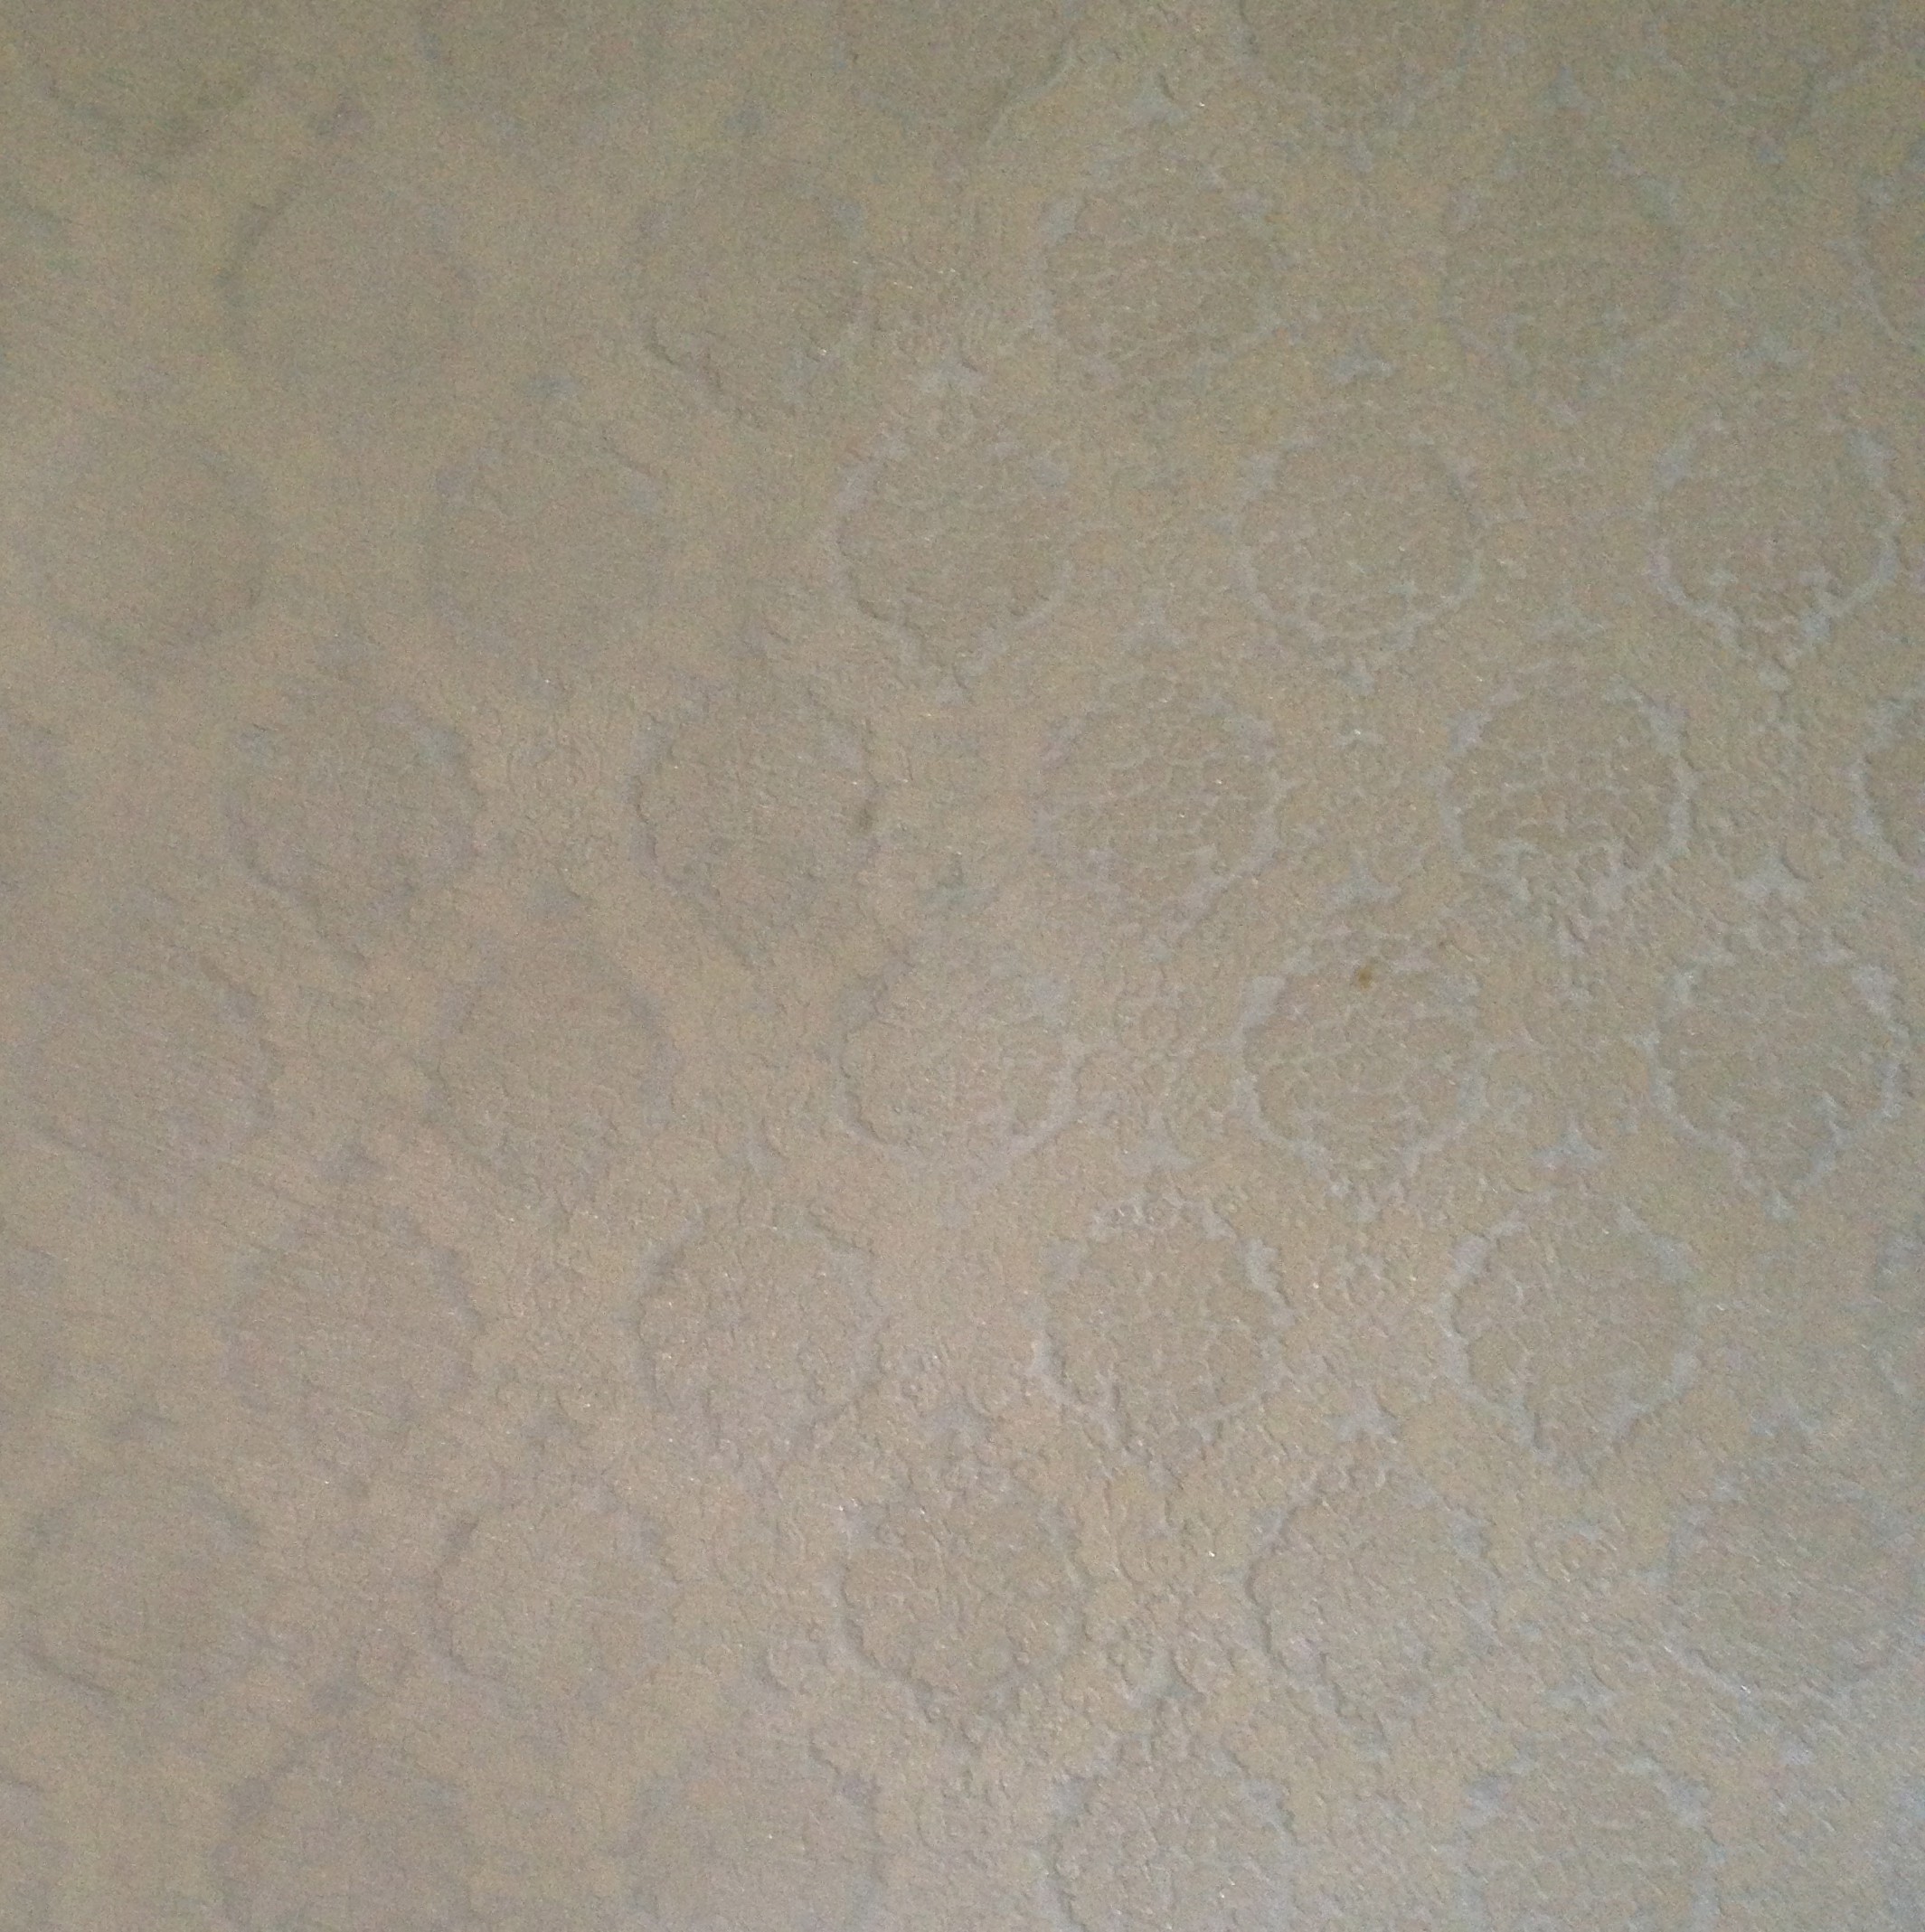
Super close up! A little blurry, but you get the idea. It’s really pretty. A modern light fixture and furniture were on the way; and then… As it turns out, there was some water damage and one thing led to another…the whole room ended up being re-done. Sigh.
Metallic plaster will be back!
8
Jan, 2015
Furniture Painting & Stenciling – Sophisticated Fun
Let’s take this bedroom furniture out of “childhood” and into the teens with a fresh finish and modern stenciling techniques! Check out the before pics – our work is cut out for us. Stickers, magic marker, ballpoint pen, and the standard nicks & scratches. This particular young lady is now 14 – she’s had the same furniture since she was three years old.
Time to up-cycle!
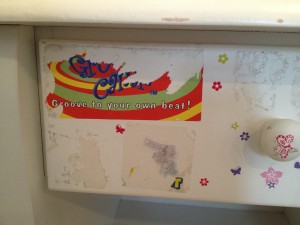
The “before” team of photographers fell a little short on this project – so these are all we have!
Let’s get to the “during” – it’ll start to make sense.
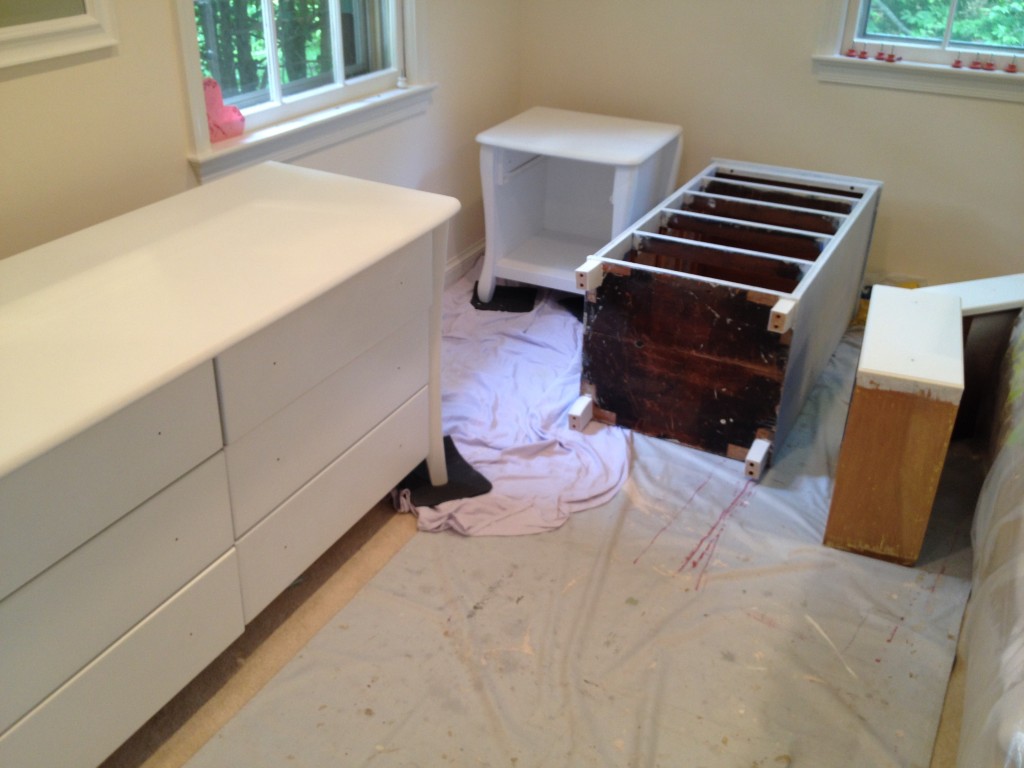
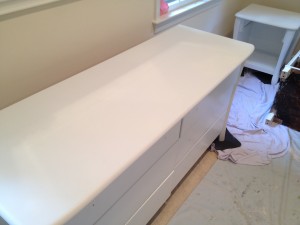
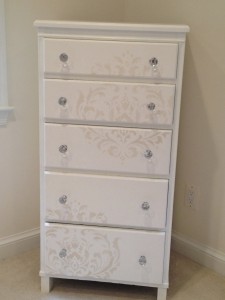
There are three pieces to be painted. The tall dresser laying on the floor is the one that was purple & yellow with pink drawer pulls (we’ve already cleaned and painted the first coat). You can see the brown bottom and the old hint of the previous “feet” that had been removed. There were no feet on this tall dresser at all when we came along – so we found some feet that have a similar matching vibe with the other two furniture pieces on www.sofalegwarehouse.com
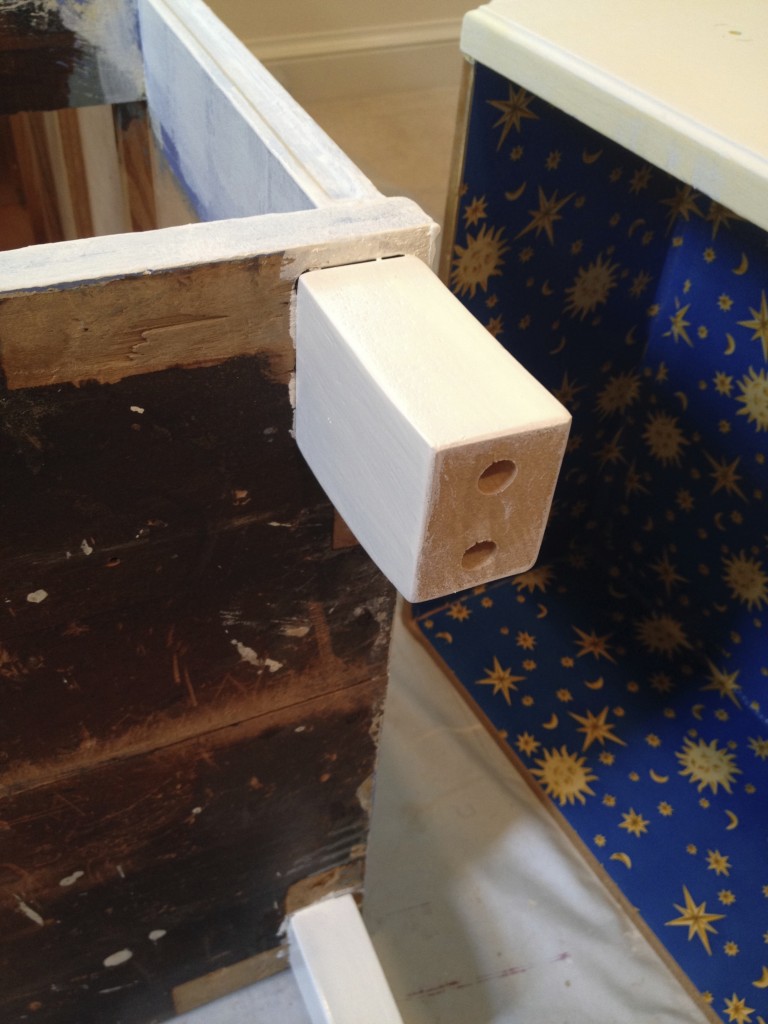
We primed the new feet, drilled new pilot holes in the tall dresser, and screwed in the new feet. We did the math (not our thing- but important) to make sure the new screws wouldn’t jut up into the space of the bottom drawer and interfere with the sliding motion. They JUST fit and make it work. The tall dresser had already been a painted piece, (remember the purple and yellow?) so we figured out it was a water based paint and knew we’d be able to paint right over it.
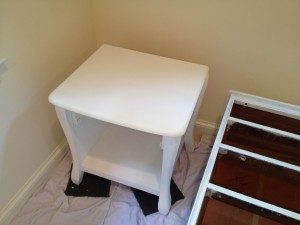
We used a creamy white to match the existing white of the low dresser and nightstand.
The low wide dresser and nightstand were already painted white; so we really only needed repair damage and repaint the tops and drawer front of the nightstand (where all the stickers and marker did their damage). There are lots of variables to consider when you go to paint furniture. Hand paint? Spray? Easy-Fast-Leave-It-Right-There-At-the-House? (yes, please) We’ll just tell you the basics of what we did with these three pieces – and then get to the fun part of the stencil design!
1. Clean the heck out the furniture. We use an orange oil cleaner call DeSolveIt to remove sticker goo. Wipe it off with a damp rag spritzed with something like 409 or Krud Kutter. Wipe again with just water damp rag.
2. Scuff if lightly with fine sandpaper to take down the slick, glossy finish.
3. Prime with high quality primer to hide any remaining ball point pen or magic marker. That stuff is hard to remove.
Ready to Paint! We wanted to make it as affordable and as convenient as possible for the client and her daughter. Leaving everything in the room is not always possible, but in this instance it was do-able. We used a paint by McCormick called Inter-lok. It bonds REALLY well to a variety of surfaces and is very durable. We were able to match the paint to the original color of the furniture. We rolled it on with a smooth velour or “flocked” roller. You can find those at most paint stores. The tall dresser needed two coats of paint to cover the purple & yellow, the low dresser and night stand needed one coat of primer and one coat of paint. (but only on the tops – easy!)
Fresh! Ready for the stencil!
Our teenaged client wanted something sophisticated but not boring. Her parents didn’t want to buy new furniture. We decided to stencil two different patterns – one for the low dresser and nightstand, one for the tall dresser. We love stencils from www.cuttingedgestencils.com They have a great selection of traditional and modern designs! We used Nagoya and Brocade#1 patterns.
How to Stencil the Furniture:
Tape off and protect any part of the furniture you don’t want to get any paint on! For this project we didn’t want the pattern to start wrapping the side edges. The size of the stencil didn’t quite cover the entire top of the piece. Make sure your first sections of paint are dry before you move on to the next section matching the stencil to the remainder of the surface.
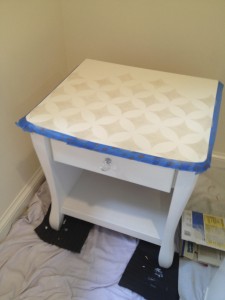
This is the Nagoya on the top of the nightstand. Almost done.
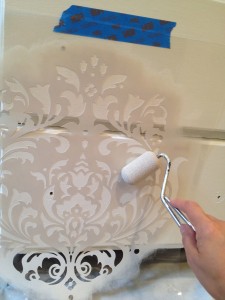
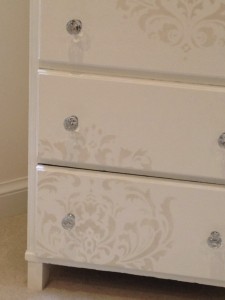
This is the Brocade #1 going across the front of the drawers on the tall dresser. We’re using a light taupe color (also Inter-lok paint). Once your stencil is placed where you want it – you can start painting. For this project we used a small foam roller. Roll it lightly in the paint tray and then roll it on some newspaper to “off-load” some of that paint. You want that roller to be almost dry. Too much paint on the roller will squish under the stencil windows and make a mess you may not like and wreck the crispness of the design. If you’ve never done this before, practice first! You won’t regret it. Use a light, even pressure when rolling over the stencil.

Taking the stencil off. Taa-daa!
We replaced all the drawer pulls for all three pieces so they matched. We found faux crystal pulls at Home Depot that were very affordable.

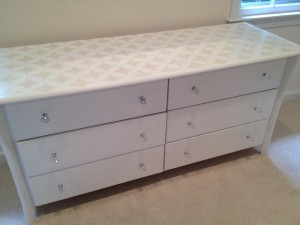
Awesome! Sophisticated and fun!